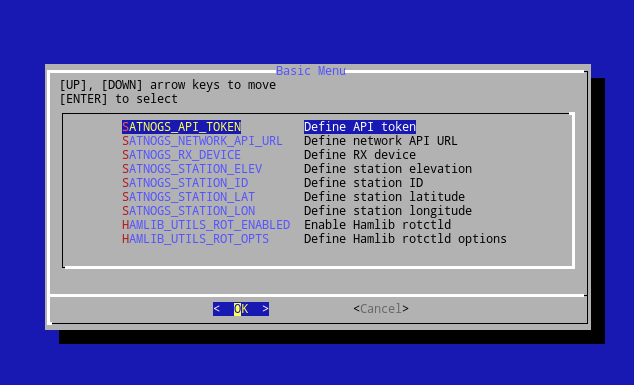
SatNOGS-Client development team member Vasillis, using PiGen and Gitlab CI, created a SatNOGS Client Raspbian image to use with your Raspberry Pi 3 for your SatNOGS ground-station. To install and setup the image you can follow the Raspbian sector in the Raspberry Pi 3 SatNOGS wiki page. Following the instructions will get you to the SatNOGS Client configuration screen, from there you can add your ground-station’s details via the basic setup.
- If you already created a ground-station in the SatNOGS Network website (or it’s stage environment) you should provide the relevant data for your Raspberry Pi and soon you will see your ground-station on-line.
- If you haven’t created a ground-station in the SatNOGS Network yet, you can create an account in the SatNOGS Network stage environment, and create a new ground station (Note: as soon as you are satisfied with your ground-station’s performance you will be able to migrate to the production instance of the SatNOGS Network).

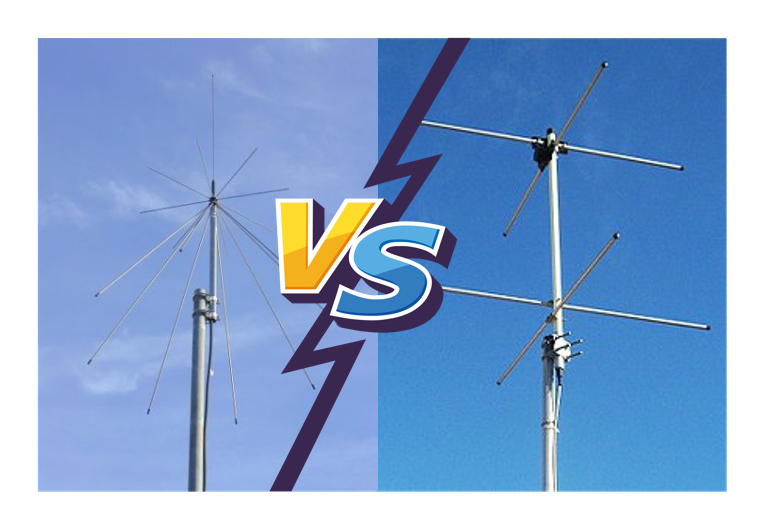
- If you don’t have a ground-station you can either start building a SatNOGS Rotator, buy a commercial rotator using a commercial controller or even our ardushield, or simply use a no-rotator setup using a turnstile antenna, an LNA, an RTL-SDR, and your RaspberryPi 3 which is ideal as an introduction to SatNOGS and satellite hunting!

Since SatNOGS is not only a set of open source technologies but also a community effort don’t hesitate to reach out to the community, and our active channels IRC #satnogs at the Freenode server or the SatNOGS Matrix channel reachable by riot.im (both channels are bridged and riot keeps an archive of previous messages).


